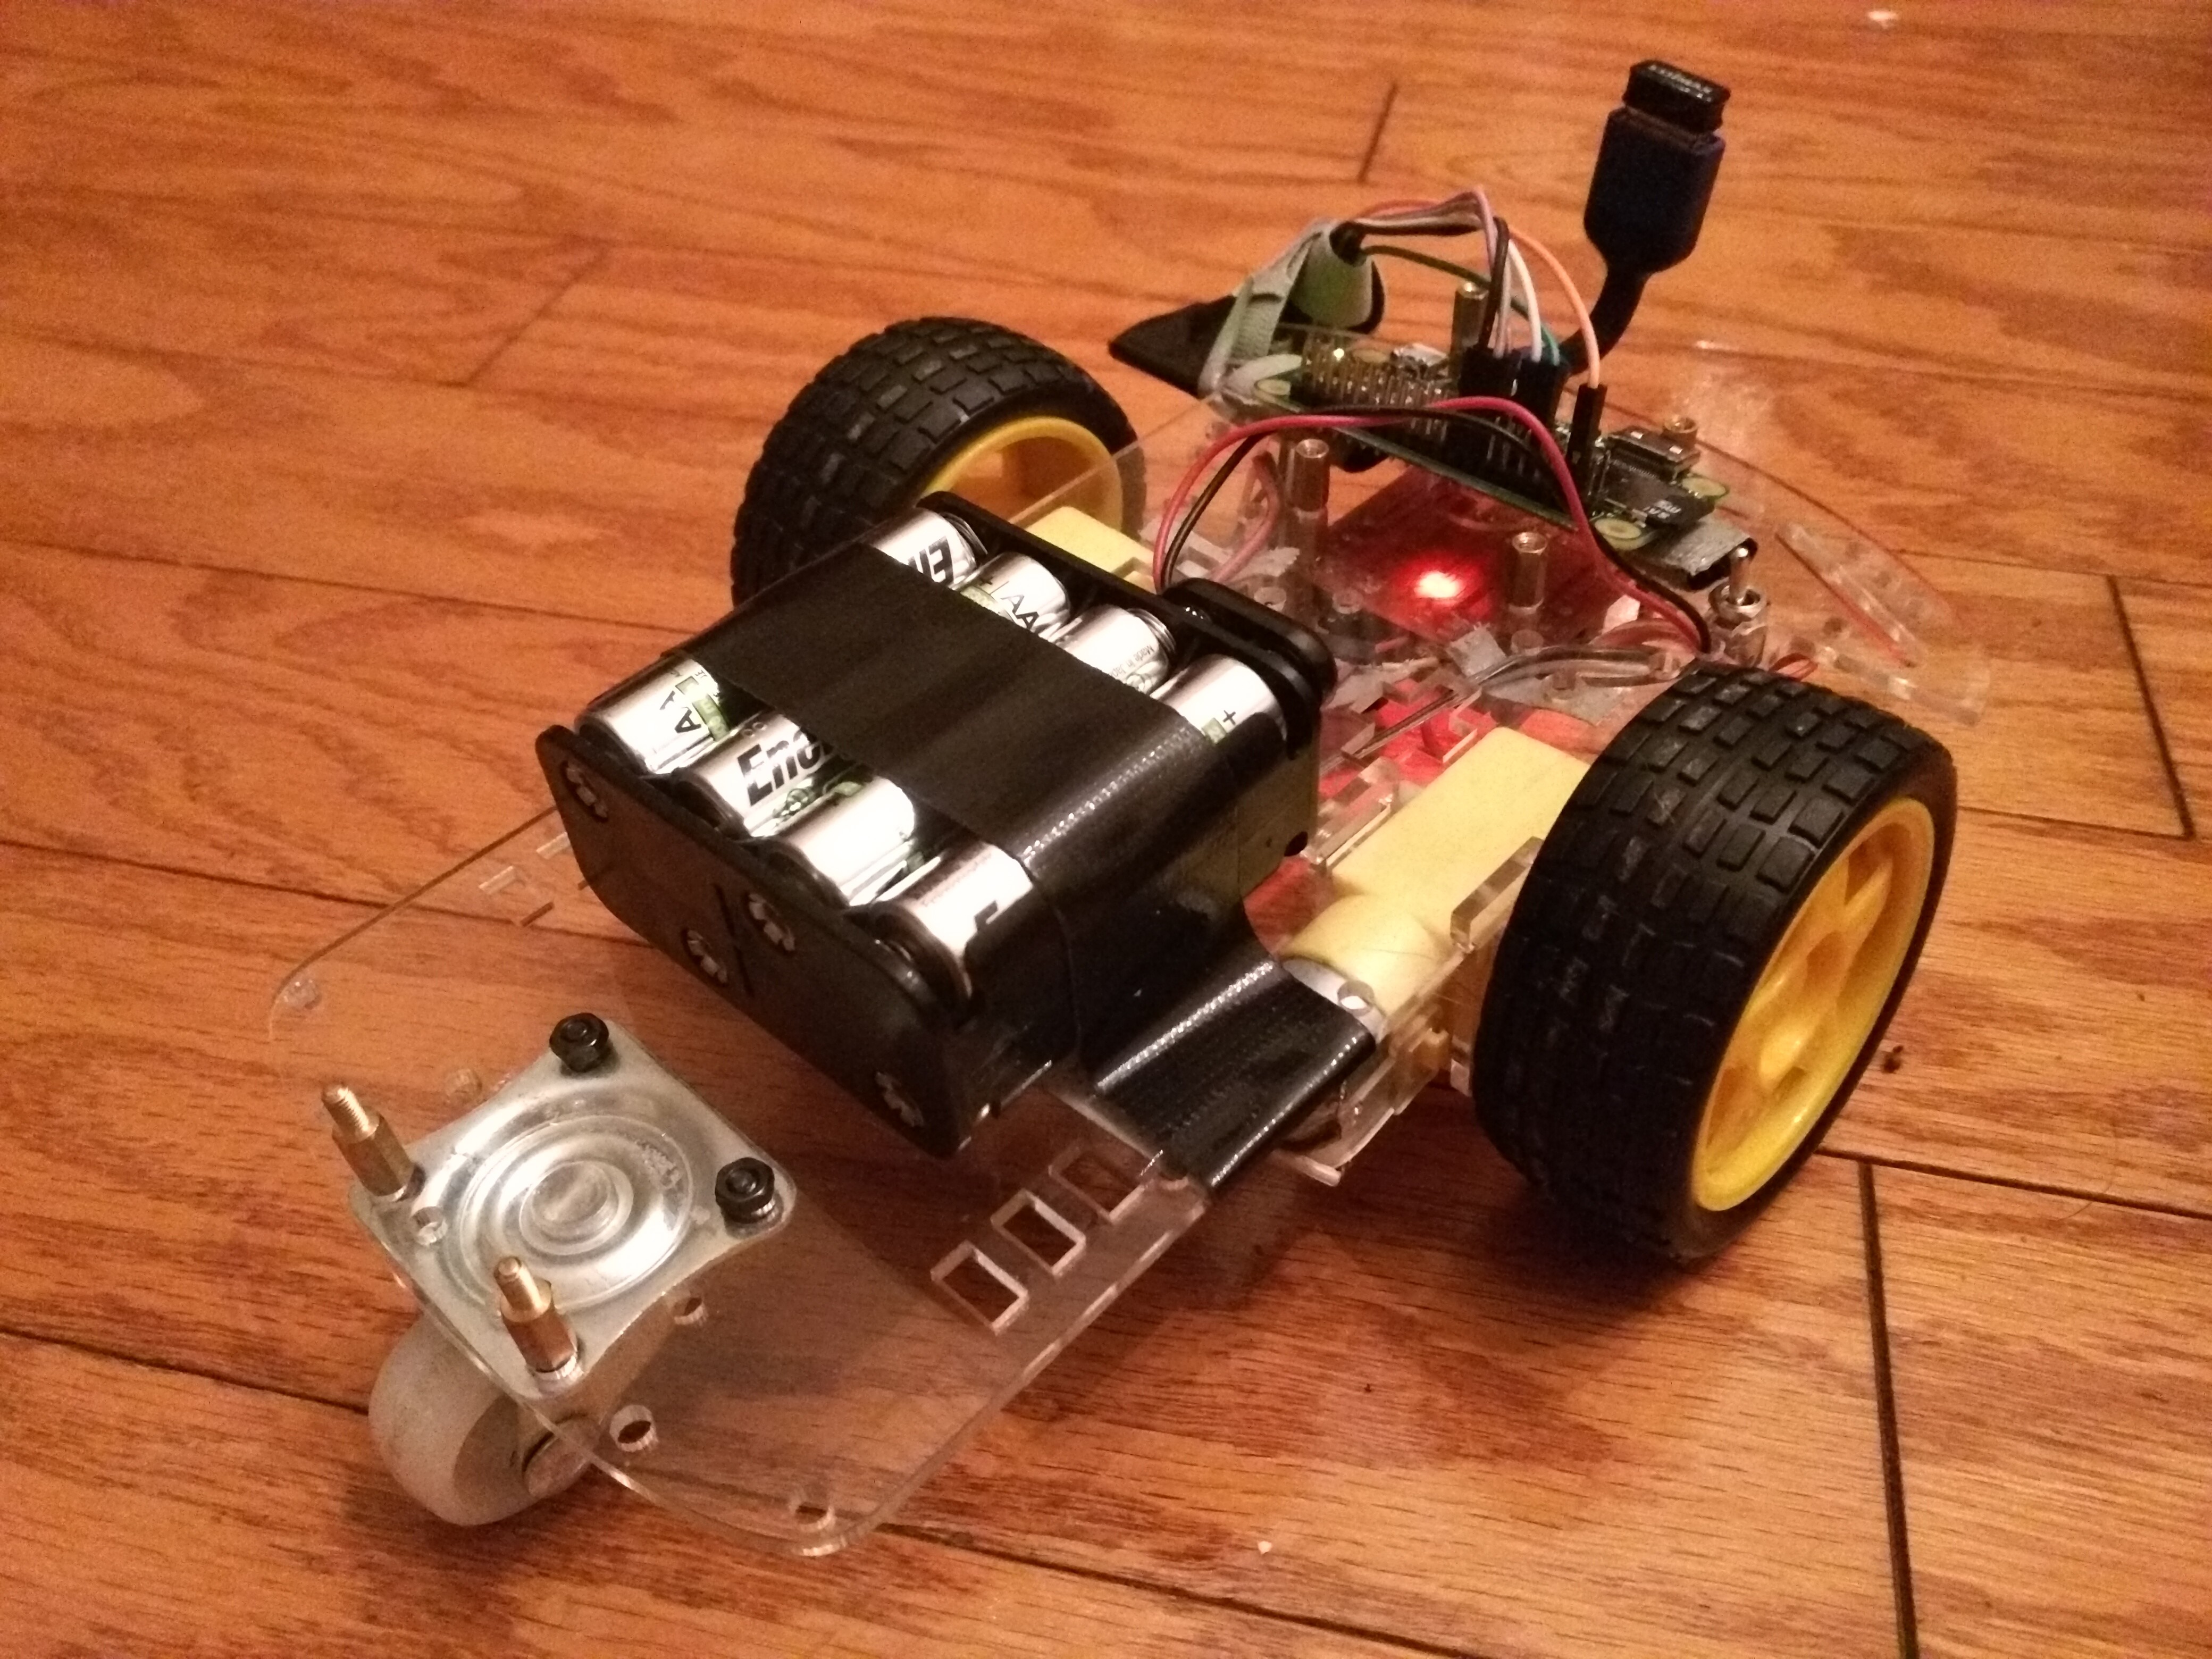
Here is a really cool car robot I built:
This post will document roughly how I put it together. If you want to build your own you can read this guide for an outline and perhaps share or improve the code.
Setup Board
For my car robot I’m using a Raspberry Pi Zero since it is small and uses low power. First go to this link, download and install Raspbian Lite and ensure you can boot into it on your Pi. Expand your filesystem and ensure you can connect wirelesly to your board.
Next add your wireless network ssid and psk to
/etc/wpa_supplicant/wpa_supplicant.conf. Like this:
network={
  ssid="network_name"
  psk="network_password"
}
Reboot and ensure it automatically connects to the wireless.
Assemble the Hardware
For this project I used a robot car chassis which provided the motors, wheels and base. In addition I purchased an h-bridge to drive the motors. Since this was a prototype I was going for low cost. I also needed a set of batteries and holder to power both the board and motors. Finally I used a Raspberry Pi Zero to control the machine along with a wireless dongle and USB OTG cable. The following is an approximation of my total cost, many of the items I had in the house already.
Bill Of Materials
| Description | Cost USD |
|---|---|
| RaspberryPiZero | $5 |
| RobotCarChassis | $13 |
| DualHBridge | $9 |
| 8xRechargeAA | $20 |
| BatteryHolder | $5 |
| EdimaxWireless | $10 |
| OTGUsb | $5 |
| Total | $67 |
After gathering everything you need to start wiring up all the components. Securing the parts to the chassis can be done with screws or tape. Care needs to be taken to ensure the car is well balanced and parts are secured.
Wiring Diagram
I connected the pins as follows. You should take care to use GPIO pins that aren’t asserted on boot otherwise your car will spin in circles during boot (or drive off the table.) In addition I connected the Raspberry Pi Zero to the same batteries used to drive the motors. Care needs to be taken to ensure grounds are connected and there is enough current for all devices. I would also suggest a switch between the batteries and the h-bridge to be able to completely power off the device easily.
| MotorBoard | RPi2 Pin | Description |
|---|---|---|
| IN1 | 18 | GPIO24 |
| IN2 | 11 | GPIO17 |
| IN3 | 16 | GPIO23 |
| IN4 | 15 | GPIO22 |
| GND | 9 | GND |
| +5V | 4 | +5V |
Get the software
I used golang to create the controller for the robot. In addition I wanted to have the control via a webserver running on the robot itsself. You can clone the project here. Once downloaded you can build on a local machine. First ensure that golang-go is installed. Next you can build using the following inside the cargo directory:
go get ./...
go build GOARCH=arm GOARM=6 car.go
This targets ARMv6, if you have another board you may need to set GOARM differently.
Finally upload car and control.html to the Raspberry Pi Zero’s /home/pi
directory and edit /etc/rc.local to run /home/pi/car on boot. Reboot the
machine and on another machine open a browser to http://raspberrypi:9090.
Now you should be able to control your robot! Have fun.